Cubase Windows Raven Setup
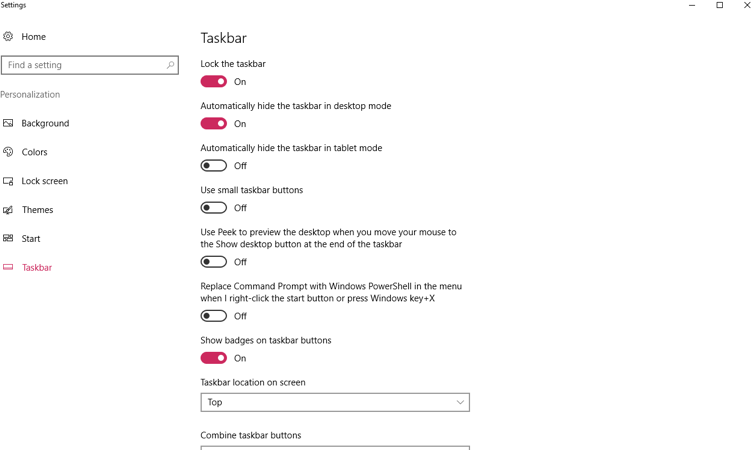
1. Check the box "make this my main display" to set the Raven as your main display, then, set the "Taskbar" to "auto hide" to make more screen real estate for the Raven. Last, install Raven software and Touch driver.

2. If using MTi2 (HDMI Connector and Raven MTi logo on the bottom) , click the system tray and select "Configure" from the UPDD Console and follow the instructions on screen.
3. Launch V-control Pro from the desktop shortcut and be sure V-control is showing in the system tray.
4. Open Cubase and go to device setup and add RAVEN.
Note: Be sure to leave the MIDI Input/Output settings to "Not Connected" or RAVEN will not show all the tracks.
5. The Project/Mix button toggles between Workspace 1 and 2. So depending on your displays you may need to update these so the windows will open in the correct spot and you can utilize all displays.
Note: If you don't have theses Workspaces showing ,Perhaps this preset folder has never been made.
Hit "Add workspace" and this should create the folder in your app data.
6. In order for the internal mixer to sync correctly the Steinberg colors need to be set to default.
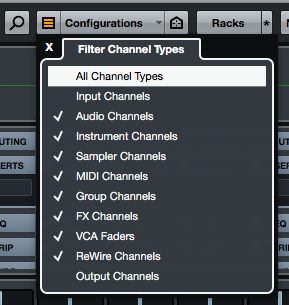
7. Be sure the Mix Console settings are similar to the below picture. "Sync Selection in Project Window" will need to be uncheck so the Internal Mixer will not bank around when tracks are selected in the Project Window.
8. Hide Stereo In/Out Tracks in the MixConsole.

9. Align the bottom of the Cubase/Nuendo MixConsole to be flush with the Top of the RAVEN Toolbars. Workspace 2 will be pre setup to align with the RAVEN so recalling this Workspace will move the Cubase/Nuendo MixConsole to the correct location.
10. Set up the RAVEN Steinberg Key Commands.
Comments
Article is closed for comments.